
Cutting rolled insulation accurately is key to achieving optimal energy efficiency in your home. This guide will walk you through the process step-by-step, from gathering the right tools to ensuring a snug fit, saving you money and improving your home’s comfort.
Why Accurate Insulation Cutting Matters
Properly cut insulation is the cornerstone of an energy-efficient home. Gaps, compression, or improperly sized pieces can lead to drafts, moisture problems, and wasted energy dollars. A snug, well-fitted insulation layer acts as a thermal barrier, keeping your home warmer in the winter and cooler in the summer. By taking the time to cut insulation accurately, you’re not just improving comfort; you’re significantly reducing your energy bills. Poorly installed insulation can drastically reduce its effectiveness, negating the benefits of even the highest R-value materials. For more details on ensuring insulation efficiency, refer to How to Measure Insulation in Your Home & Save Money for a comprehensive guide on improving energy savings.
Gathering Your Tools and Materials
Before you begin, gather the necessary tools and materials. Having everything on hand will streamline the process and ensure a clean, professional result.
Essential Tools for Cutting Insulation:
- Utility Knife or Insulation Knife: A sharp blade is essential for clean cuts. An insulation knife with a serrated edge is designed specifically for this purpose and will last longer.
- Measuring Tape: For accurate measurements.
- Straight Edge (e.g., metal ruler, level): To guide your cuts and ensure straight lines.
- Pencil or Marker: For marking measurements on the insulation.
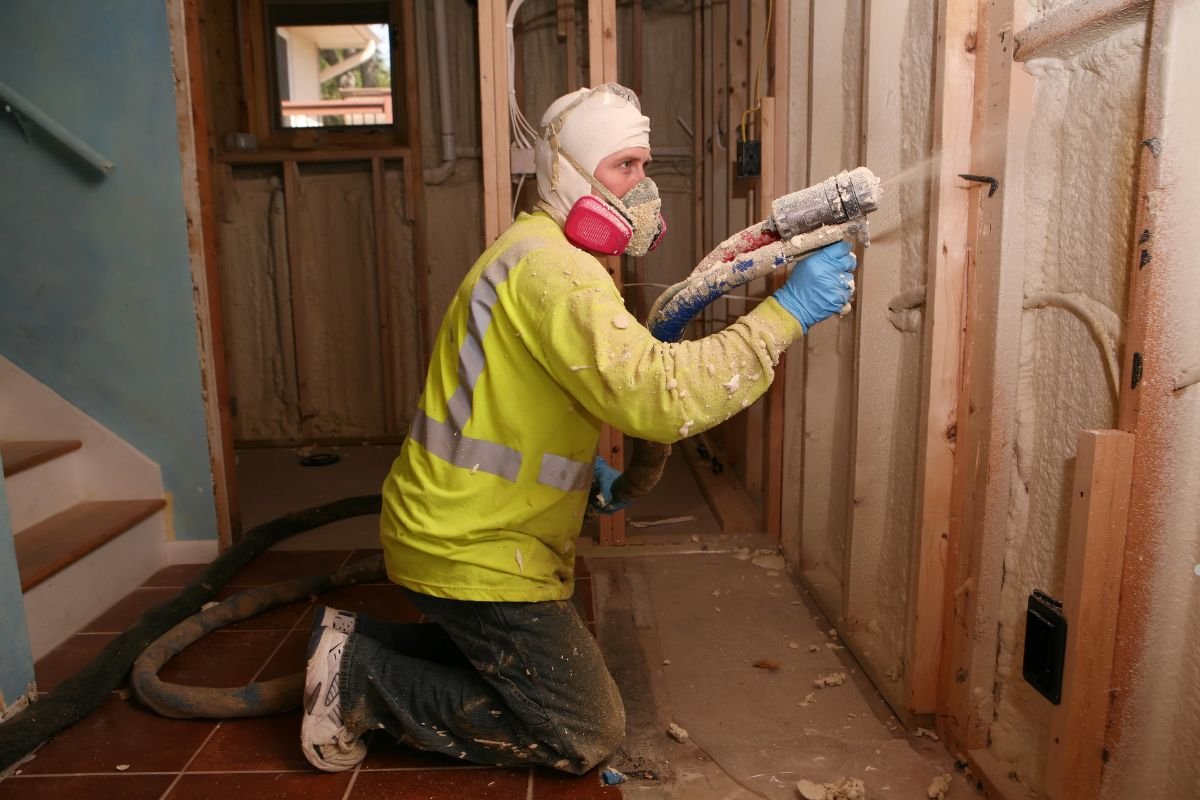
Safety Gear: Protecting Yourself:
- Gloves: To protect your hands from fiberglass or other irritating materials.
- Safety Mask: To prevent inhaling fibers.
- Eye Protection: Safety glasses or goggles to shield your eyes from airborne particles.
Measuring for a Perfect Fit
Accurate measurements are paramount. Taking the time to measure correctly will prevent waste and ensure a snug fit.
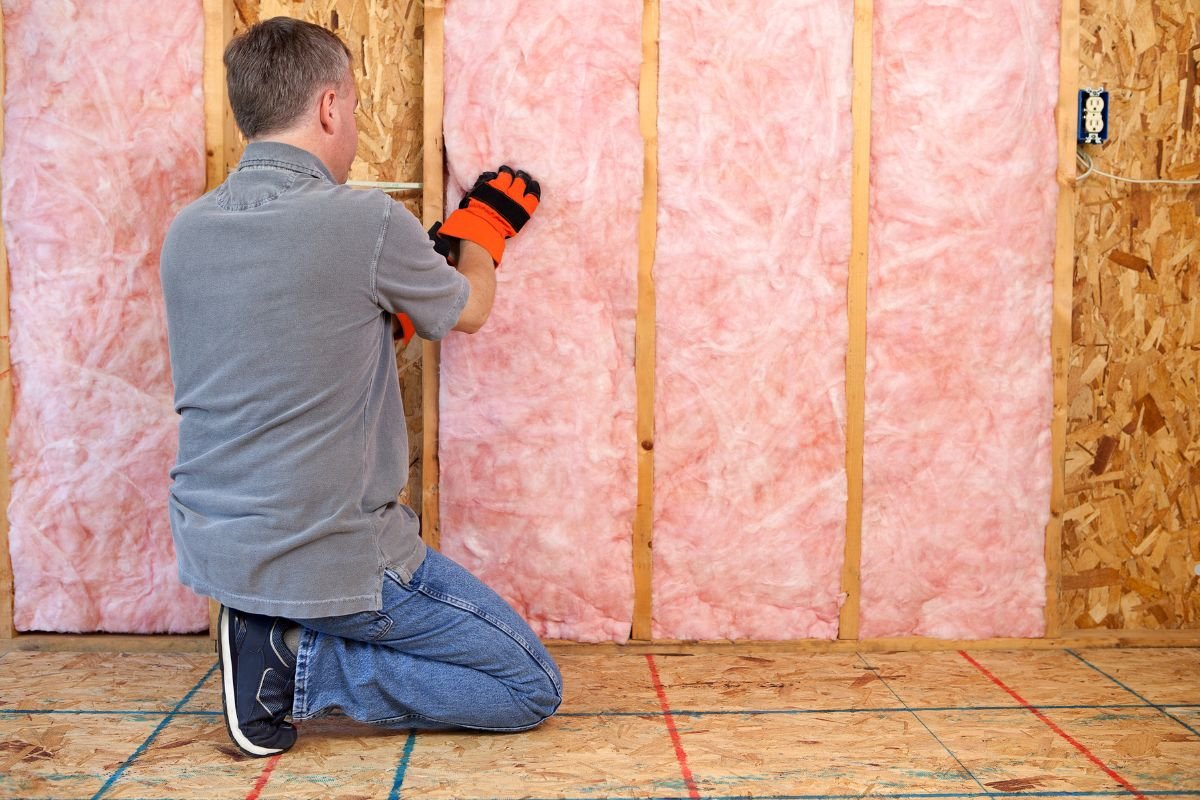
- Measuring Walls and Ceilings: Measure the width and height of each cavity you need to insulate. Write down each measurement to avoid confusion and ensure a proper fit. For more information on enhancing insulation in your home, check out wall insulation for expert tips and solutions.
- Accounting for Obstacles and Framing: Note the location of any pipes, wires, or framing members within the cavity. You’ll need to cut the insulation to fit around these obstacles. Add extra material to allow for a snug fit around these areas.
Ready to get started? Don’t risk improper installation. Call us for expert insulation services!
Step-by-Step Guide to Cutting Rolled Insulation
Now, let’s get to the cutting process:
- Unroll the Insulation: Lay the rolled insulation on a clean, flat surface.
- Measure and Mark: Using your measurements, mark the insulation with a pencil or marker. Use a straight edge to ensure straight lines.
- Cut Straight Lines: Place the straight edge along your marked line. Using a sharp utility knife or insulation knife, firmly press down and draw the blade along the straight edge in a smooth, even motion. Multiple passes may be necessary for thicker insulation.
- Cutting Around Obstacles: For pipes or wires, measure the distance from the edge of the insulation to the center of the obstacle. Cut a slit from the edge of the insulation to this point. Then, cut a small circle or square around the obstacle to allow the insulation to fit snugly.
- Handling Faced and Unfaced Insulation: Faced insulation (with a paper or foil backing) should be cut with the facing side up. This will prevent the facing from tearing. Unfaced insulation can be cut from either side.
Unsure about cutting around complex obstacles? Call us for professional insulation installation that guarantees a perfect fit!
Ensuring a Snug and Effective Installation
The way you install the cut insulation is just as important as the cutting process.
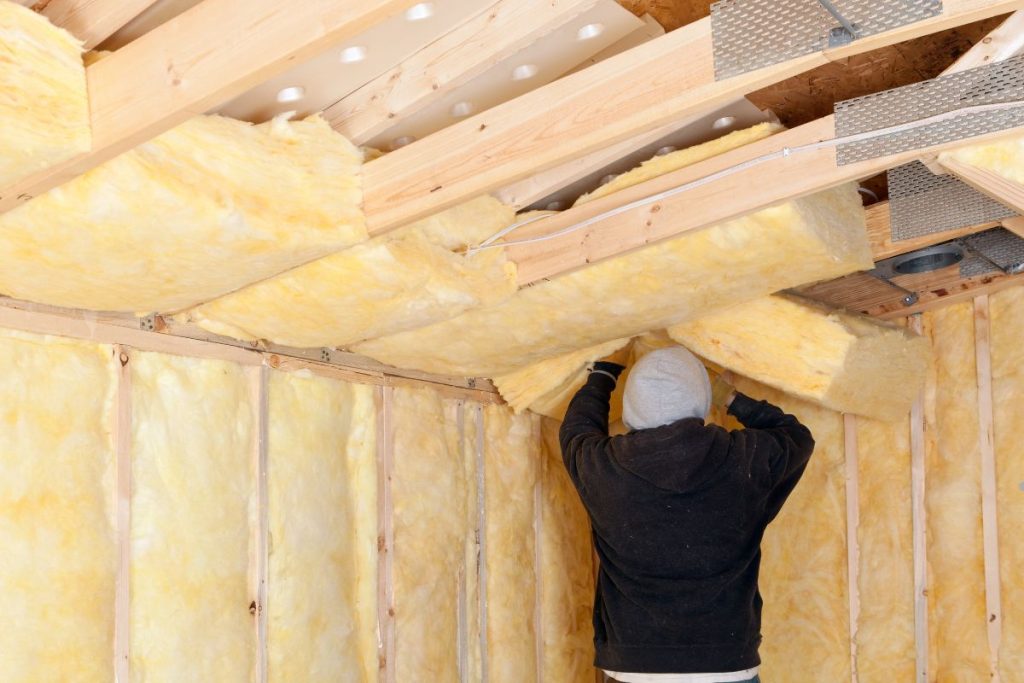
- Friction Fit vs. Stapling: In most cases, a friction fit is sufficient to hold the insulation in place. This means cutting the insulation slightly wider than the cavity so that it stays in place due to compression. In some cases, such as on ceilings, stapling may be necessary to prevent sagging.
- Avoiding Compression: Compressing insulation reduces its R-value and its effectiveness. Avoid stuffing too much insulation into a small space.
- Sealing Gaps and Seams: Use foil tape or caulk to seal any gaps or seams in the insulation. This will prevent air leaks and improve energy efficiency. Sealing insulation seams also provides a defense against moisture.
Safety First: Protecting Yourself and Your Home
Safety should always be your top priority when working with insulation.
- Proper Ventilation: Work in a well-ventilated area to minimize exposure to airborne fibers.
- Waste Disposal: Dispose of insulation scraps properly in a sealed bag to prevent fibers from spreading.
- Handling Fiberglass and Other Materials: Follow the manufacturer’s instructions for handling specific types of insulation. Wear appropriate protective gear.
Common Mistakes and How to Avoid Them
Even experienced DIYers can make mistakes when cutting and installing insulation. Here are some common pitfalls and how to avoid them:
- Inaccurate Measurements: Double-check your measurements before cutting.
- Using a Dull Blade: A dull blade will tear the insulation and make it difficult to cut straight lines. Replace your blade frequently.
- Compressing the Insulation: Avoid stuffing too much insulation into a small space.
- Ignoring Gaps and Seams: Seal all gaps and seams to prevent air leaks.
- Skipping Safety Precautions: Always wear appropriate protective gear.
Frequently Asked Questions
What type of knife is best for cutting insulation?
An insulation knife with a serrated edge is ideal, but a sharp utility knife will also work.
How much insulation should I use?
The recommended amount of insulation depends on your climate and the R-value of the insulation. Consult your local building codes for guidance.
Can I reuse insulation scraps?
Small scraps can be used to fill in small gaps, but avoid using them in large areas.
How do I dispose of insulation waste?
Check with your local waste management company for proper disposal guidelines.
Achieving a Well-Insulated Home
Cutting rolled insulation accurately is a crucial step in achieving a well-insulated, energy-efficient home. By following these tips and techniques, you can save money, improve comfort, and reduce your environmental impact. While DIY is a great option, don’t hesitate to call a professional if you feel overwhelmed or uncertain about any aspect of the process. For expert assistance, feel free to contact us today!